AI Arduino Architect
AI Arduino Architect: Generate Production-Ready Arduino & ESP32 Code Instantly from Text
Category: Embedded Systems / AI Tools
Reading Time: 8 Minutes
The barrier between a brilliant hardware idea and a working prototype has always been one thing: Code.
For decades, electronics enthusiasts, engineers, and students have stared at blank IDE screens, wrestling with missing semicolons, conflicting libraries, and the complexities of C++. whether you are building a simple home automation system using an ESP32 or a complex robotics project with an Arduino Mega, the logic is often clear in your head, but translating it into syntax-perfect code is a time-consuming bottleneck.
Enter AI Arduino Architect.
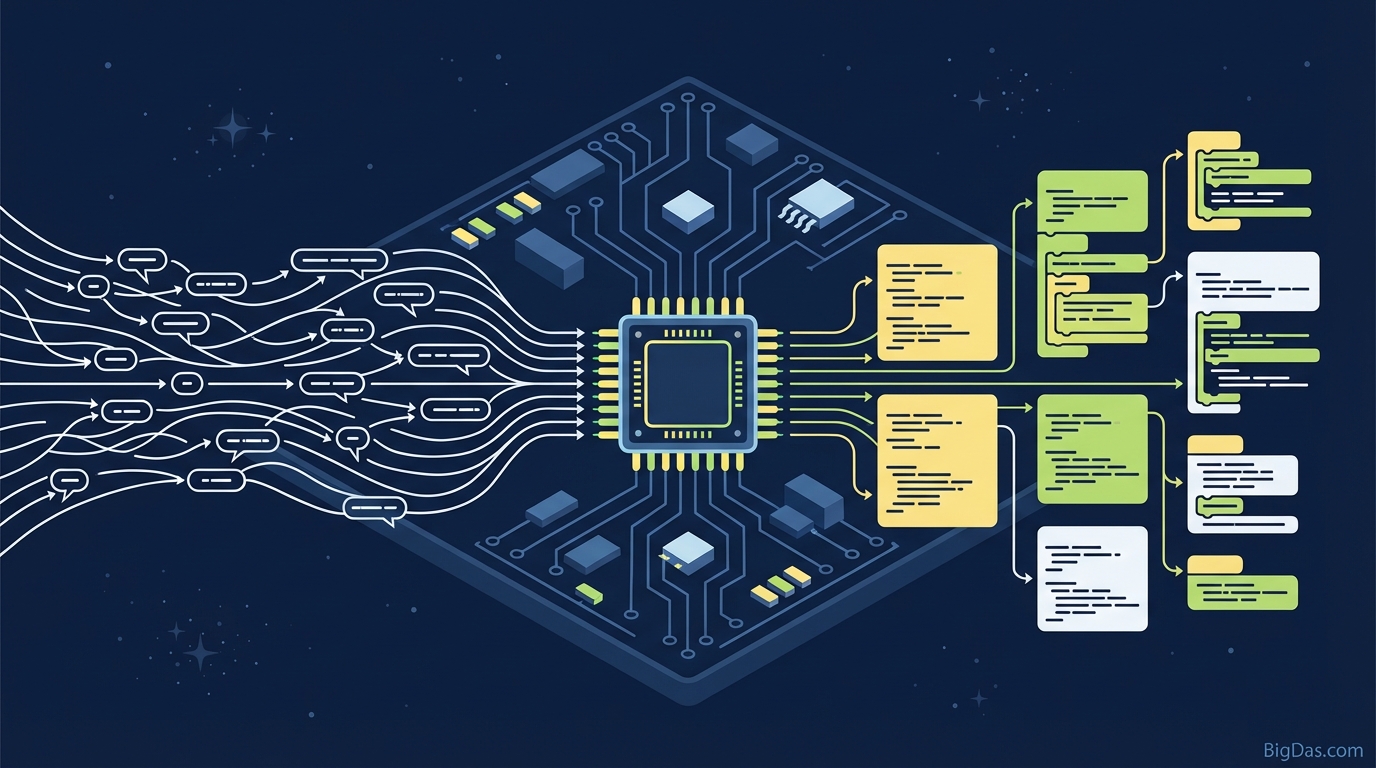
This isn't just another generic text generator. It is a specialized, context-aware coding engine designed specifically for the embedded systems ecosystem. In this guide, we will explore how AI Arduino Architect is revolutionizing hardware programming, allowing you to generate complete, compiling code from simple natural language descriptions.
What is AI Arduino Architect?
AI Arduino Architect is a cutting-edge artificial intelligence tool engineered to bridge the gap between human logic and machine language. Unlike general-purpose LLMs (Large Language Models) that often struggle with specific hardware pinouts or hallucinate non-existent libraries, AI Arduino Architect is trained on a massive dataset of verified Arduino and ESP32 repositories.
It functions as your senior firmware engineer. You describe what you want the board to do, and the tool architects the how.
Beyond Simple Syntax
Most coding assistants can write a "Hello World" loop. AI Arduino Architect goes deeper. It understands:
- Hardware Constraints: The difference between an analog pin on an Arduino Uno versus an ADC pin on an ESP32.
- Non-Blocking Logic: Writing code that multitasks using
millis()instead of freezing the processor withdelay(). - Library Integration: Automatically identifying and implementing the correct libraries for sensors (DHT11, MPU6050, OLED displays, etc.).
Whether you are a complete beginner trying to blink an LED or a seasoned engineer prototyping an IoT dashboard, this tool eliminates the syntax struggle.
Key Features & Benefits
Why is AI Arduino Architect considered best-in-class for hardware coding? Here is a breakdown of its core capabilities.
1. Instant Natural Language to C++ Conversion
The core feature is simplicity. You type: "Create a system that turns on a relay connected to Pin 8 when the temperature sensor on Pin A0 reads above 30 degrees Celsius." The tool outputs formatted, commented, and compile-ready code instantly.
2. Native Support for ESP32 and IoT
The world is moving toward IoT (Internet of Things). AI Arduino Architect specializes in ESP32 and ESP8266 workflows. It can generate code for:
- Connecting to Wi-Fi networks.
- Sending data to MQTT brokers.
- Hosting lightweight Web Servers.
- Handling Deep Sleep modes to save battery.
3. Intelligent Library Management
One of the biggest frustrations in Arduino programming is dependency management. If you ask for code involving a servo motor, the tool automatically includes <Servo.h>. If you are using a NeoPixel strip, it implements the Adafruit_NeoPixel logic correctly. It removes the guesswork of "which library do I need?"
4. Error-Free Logic Structures
Beginners often crash their boards by creating infinite loops or blocking code. AI Arduino Architect is programmed to prioritize best practices. It generates clean setup/loop structures, proper variable initialization, and efficient state management.
5. Educational Comments
The code isn't just a black box. The output includes detailed comments explaining why a specific line exists. This turns the tool into a learning platform, helping users understand the logic so they can modify it manually later.
Step-by-Step Guide: How to Use AI Arduino Architect
To get the most out of this tool, you need to treat it like a partner. Here is the optimal workflow for generating flawless code.
Step 1: Define Your Hardware
Before typing a prompt, list your components. The AI needs to know what board and sensors you are using to assign pins correctly.
- Board: Arduino Uno, Nano, Mega, or ESP32?
- Input: Buttons, Temperature Sensors, Ultrasonic Sensors.
- Output: LEDs, Relays, Motors, OLED Screens.
Step 2: Construct Your Prompt
The quality of the output depends on the clarity of the input. Be specific.
- Bad Prompt: "Code for a smart garden."
- Good Prompt: "Write code for an ESP32. Read moisture data from a capacitive sensor on GPIO 34. If the value drops below 40%, turn on a water pump relay on GPIO 26 for 5 seconds. Also, blink the onboard LED while pumping."
Step 3: Generate and Review
Hit generate. AI Arduino Architect will produce the C++ code. Review the top section (Global Variables) to ensure the pin numbers match your actual wiring.
Step 4: Verify in Arduino IDE
Copy the code into your Arduino IDE. Ensure you have the necessary libraries installed (the AI usually lists required libraries in the comments). Click Verify/Compile.
Step 5: Upload and Test
Connect your board via USB and upload. Watch your hardware come to life instantly.
Pro-Tips: How to Get the Best Results
While AI Arduino Architect is powerful, following these "Prompt Engineering" tips for hardware will elevate your results from functional to professional.
1. Request Non-Blocking Code
If you are doing multiple things at once (e.g., blinking an LED while waiting for sensor data), explicitly ask the tool to "use millis() instead of delay() for multitasking." This ensures your processor doesn't freeze during wait times.
2. Specify Protocols
If you are using specific displays or sensors, mention the communication protocol.
- Example: "Use an I2C LCD 1602 display at address 0x27."
- Example: "Read a DHT22 sensor using the Adafruit Unified Sensor library."
3. Ask for Debugging Output
Always ask the AI to "include Serial Monitor print statements for debugging." This allows you to see what the board is "thinking" on your computer screen, which is vital for troubleshooting loose wires or faulty sensors.
Why You Need This Tool (Use Cases)
Who benefits most from AI Arduino Architect?
The Rapid Prototyper
Engineers often need to prove a concept (POC) before designing a PCB. Instead of spending two days writing firmware for a POC, you can generate it in 5 minutes, test the hardware, and move immediately to the refinement phase.
The IoT Enthusiast
Home automation is complex. Integrating API calls, Wi-Fi credentials, and hardware interrupts is tedious. AI Arduino Architect handles the boilerplate connection code for ESP32 devices, letting you focus on the automation logic.
The STEM Student
Learning syntax can be discouraging. This tool allows students to focus on computational thinking and logic flow. They can see their ideas manifest in the real world immediately, which encourages deeper learning of the underlying code later.
The Creative Artist
Artists building interactive installations (kinetic sculptures, lighting rigs) often lack deep coding knowledge. This tool acts as a technical translator, allowing them to build complex interactive art without a CS degree.
FAQ: Frequently Asked Questions
1. Can AI Arduino Architect write code for ESP32 Wi-Fi and Bluetooth?
Yes. It excels at ESP32 connectivity. It can generate code for connecting to SSIDs, creating Access Points (AP), and even handling Bluetooth Serial communication.
2. Does the code require me to install libraries?
Usually, yes. The AI uses standard, popular libraries (like Adafruit_Sensor, PubSubClient, or FastLED). The code comments will tell you which libraries to install via the Arduino IDE Library Manager.
3. Can I use this for complex projects with multiple sensors?
Absolutely. The tool can handle complex logic. However, for very large projects, we recommend generating code in "modules" (e.g., generate the motor code first, then the sensor code) and combining them, or writing a detailed, step-by-step prompt.
4. Is the code optimized for battery life?
If you request it! You can ask the AI to "utilize Deep Sleep mode for an ESP32" or "optimize for low power consumption," and it will structure the code to shut down peripherals when not in use.
Conclusion
The days of scouring forums for code snippets and debugging obscure syntax errors are over. AI Arduino Architect empowers you to focus on the innovation rather than the implementation.
Whether you are automating your home, building a robot, or teaching a class, this tool provides the most accurate, efficient, and well-structured code available. It turns natural language into physical action.
Ready to bring your hardware to life?