Camera to PDF
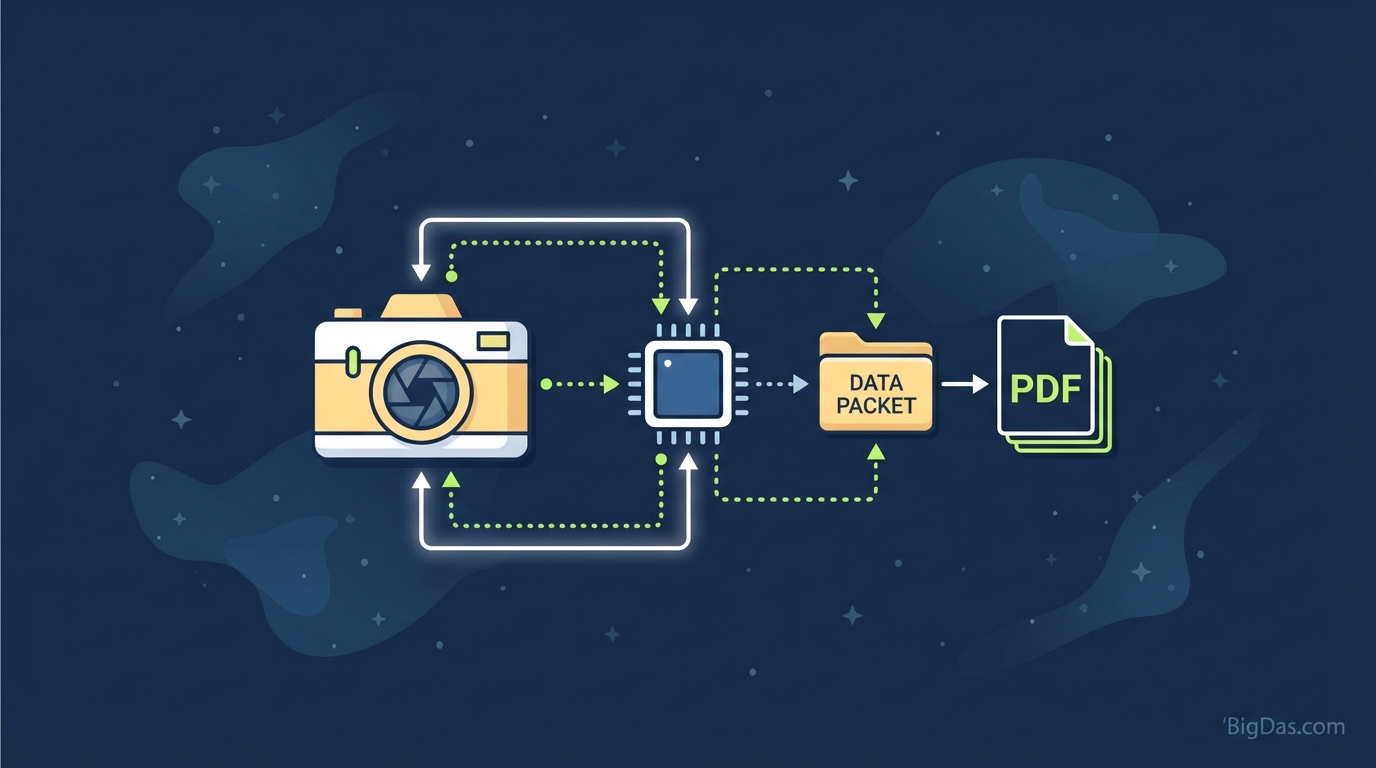 Modern scientific illustration of Camera to PDF
Camera to PDF: The Ultimate Guide to Turning Your Device Into a Pro Scanner
In the fast-paced digital era, the days of bulky flatbed scanners, tangled wires, and installing complex drivers are officially behind us. Yet, despite living in a "paperless" world, physical documents—contracts, receipts, handwritten notes, and invoices—still clutter our desks and lives.
The bridge between the physical and digital worlds is sitting right in your pocket.
Welcome to the definitive guide on Camera to PDF, the premier tool designed to leverage your device’s advanced optics to scan, digitize, and organize documents instantly. Whether you are a business executive closing deals on the road, a student archiving semester notes, or a freelancer tracking expenses, mastering the Camera to PDF workflow is no longer optional—it’s a productivity essential.
In this deep dive, we will explore how this best-in-class tool works, why it outperforms standard photography, and how you can achieve studio-quality scans from your smartphone or tablet.
What is Camera to PDF?
At its core, Camera to PDF is a sophisticated digitization tool that transforms your device’s camera into a portable, high-definition scanner. However, to view it simply as "taking a picture" is a misconception.
Standard camera apps capture images (JPEGs or HEICs). These files are raster-heavy, often suffer from poor lighting gradients, lack standard paper dimensions (A4/Letter), and are difficult to print or edit professionally.
Camera to PDF utilizes advanced image processing algorithms to perform several technical feats simultaneously:
- Edge Detection: The tool identifies the borders of the paper against the background, ignoring the clutter on your desk.
- Perspective Correction (Deskewing): Rarely do we hold a camera perfectly parallel to a document. This tool mathematically corrects the angle, flattening the image so it looks like it was fed through a machine.
- Image Binarization & Enhancement: It increases contrast, whitens the background, and sharpens the text, making the document legible and printable.
- Format Conversion: It instantly compiles the data into the Portable Document Format (PDF), the global standard for document sharing.
By using Camera to PDF, you aren't just capturing a memory; you are creating a professional, legally binding digital asset.
Key Features & Benefits
Why is Camera to PDF rated best-in-class? It goes beyond basic scanning to offer a suite of features designed for power users and professionals.
1. Superior Optical Character Recognition (OCR)
One of the standout features is the ability to turn static images into searchable, editable text. Once you scan a document, the tool analyzes the pixel patterns to recognize letters and numbers. This means you can scan a contract and later search for specific keywords within that PDF on your computer.
2. Intelligent Auto-Enhancement
Shadows and poor lighting are the enemies of mobile scanning. Camera to PDF employs dynamic thresholding to automatically remove shadows, unwanted glare, and "noise" from the paper texture. The result is a crisp, clean document with high contrast—black text on a pure white background.
3. Multi-Page Scanning Support
Most standard camera apps require you to take individual photos, clogging your gallery. Camera to PDF allows you to scan multiple pages in rapid succession (Batch Mode) and compiles them into a single, cohesive PDF file. This is essential for scanning long contracts, books, or tax returns.
4. File Compression without Quality Loss
High-resolution images are massive in file size, making them difficult to email. This tool optimizes the PDF during creation, compressing the file size significantly while maintaining crystal-clear text sharpness. You get high quality that is easy to share.
5. Instant Cloud Integration
Workflow efficiency is key. The tool allows for immediate export to Google Drive, Dropbox, OneDrive, or Slack, ensuring that as soon as you snap the picture, the document is archived safely in the cloud.
Step-by-Step Guide: How to Use Camera to PDF
While the interface is intuitive, following a specific protocol ensures you get 100% accuracy and professional results every time.
Step 1: Preparation
- Lighting: Place your document on a flat surface. Natural, diffuse light (like near a window) is best. Avoid direct overhead lights that cast the shadow of your hand onto the paper.
- Contrast: Place the document on a background that contrasts with the paper. If the paper is white, place it on a dark desk or a colored placemat. This helps the Edge Detection algorithm work instantly.
Step 2: Capture
- Open the Camera to PDF tool.
- Select your mode (Single for one page, Batch for multiple).
- Hold your device steady above the document.
- Wait for the on-screen grid or border to highlight the document edges (usually indicated by a blue or green box).
- Tap the shutter button (or let Auto-Capture take the shot).
Step 3: Review and Edit
- Crop: Review the borders. If the auto-detection missed a corner, drag the handles to align with the paper edges.
- Filter: Choose the appropriate filter.
- B&W: Best for text-heavy documents.
- Color: Best for documents with stamps, signatures, or photos.
- Photo: Best for keeping the original texture.
- Rotate: Ensure the document is right-side up.
Step 4: Save and Share
- Name your file using a consistent convention (e.g.,
YYYY-MM-DD_Invoice_Name). - Select the file size (Medium is usually best for email).
- Tap "Save as PDF" or share directly via email or messaging apps.
Pro Tips: Getting the Most Out of the Tool
To truly master Camera to PDF, apply these expert techniques:
- The "Flatten" Technique: If scanning a book or a crumpled receipt, use a clear sheet of glass or plastic (like a ruler) to hold the page flat without obstructing the text. This prevents "warped" lines in your final PDF.
- Scan Whiteboards: This tool isn't just for paper. Use it after meetings to capture whiteboard notes. The enhancement features will remove the glare and make the marker ink pop against the white board.
- ID Card Mode: If you need to scan a driver’s license or ID, utilize the tool's ability to scan both sides and arrange them onto a single PDF page automatically.
- Avoid the "Keystone" Effect: While the software corrects perspective, try to hold the camera as parallel to the paper as possible. Extreme angles can result in blurry text at the far edges of the document due to depth-of-field limitations in mobile cameras.
Why You Need This Tool: Real-World Use Cases
Who benefits most from Camera to PDF? Practically everyone, but here are specific scenarios where this tool is a game-changer:
The Business Traveler
You are at a networking lunch and sign a preliminary agreement on a napkin or physical paper. Before you even leave the table, you scan it, convert it to PDF, and email it to your legal team. No paper to lose; the workflow moves as fast as you do.
The Student / Academic
Instead of hauling heavy textbooks to the library, scan the relevant chapters. Digitize your handwritten lecture notes to create a searchable backup before finals. If you lose your notebook, you don't lose your grades.
The Freelancer / Contractor
Expense management is tedious. With Camera to PDF, you scan every receipt the moment you receive it. By the end of the month, you have a single PDF containing all expenses, ready for your accountant, rather than a shoebox full of fading thermal paper.
Legal and Real Estate Agents
Time kills deals. Sending high-quality, legible scans of signed addendums or disclosures directly from a client’s living room creates a professional image and speeds up closing times.
Frequently Asked Questions (FAQ)
Q: Is a scanned PDF as good as a "native" digital PDF? A: With Camera to PDF, the quality is incredibly close. While a native PDF (created from Word, for example) is vector-based, our tool creates high-resolution raster PDFs upscaled for print. For legal, financial, and archival purposes, they are industry-standard compliant.
Q: How secure are my documents? A: Security is paramount. All image processing happens locally on your device before export. We do not store your scans on our servers unless you explicitly choose a cloud backup option. Your sensitive data remains yours.
Q: Can I edit the text after scanning? A: Yes. Because this tool utilizes OCR (Optical Character Recognition), you can export the data to text formats or copy/paste content from the PDF, turning a static image into a working document.
Q: Does this work on handwritten text? A: The scanning and enhancement features work perfectly on handwriting to make it more legible. The OCR text recognition works best on printed text, but high-quality scans of neat handwriting can often be recognized as well.
Conclusion
The shift to digital documentation isn't coming—it’s already here. Carrying a physical scanner is obsolete, but the need for high-quality, digitized documents is higher than ever.
Camera to PDF offers the perfect blend of mobility, power, and professional quality. It transforms your smartphone from a passive device into a powerful administrative assistant. By adopting this tool, you aren't just saving paper; you are saving time, reducing clutter, and ensuring that your critical information is safe, searchable, and always within reach.
Ready to digitize your world?
Stop worrying about lost receipts and blurry photos. Experience the best-in-class scanning solution today.