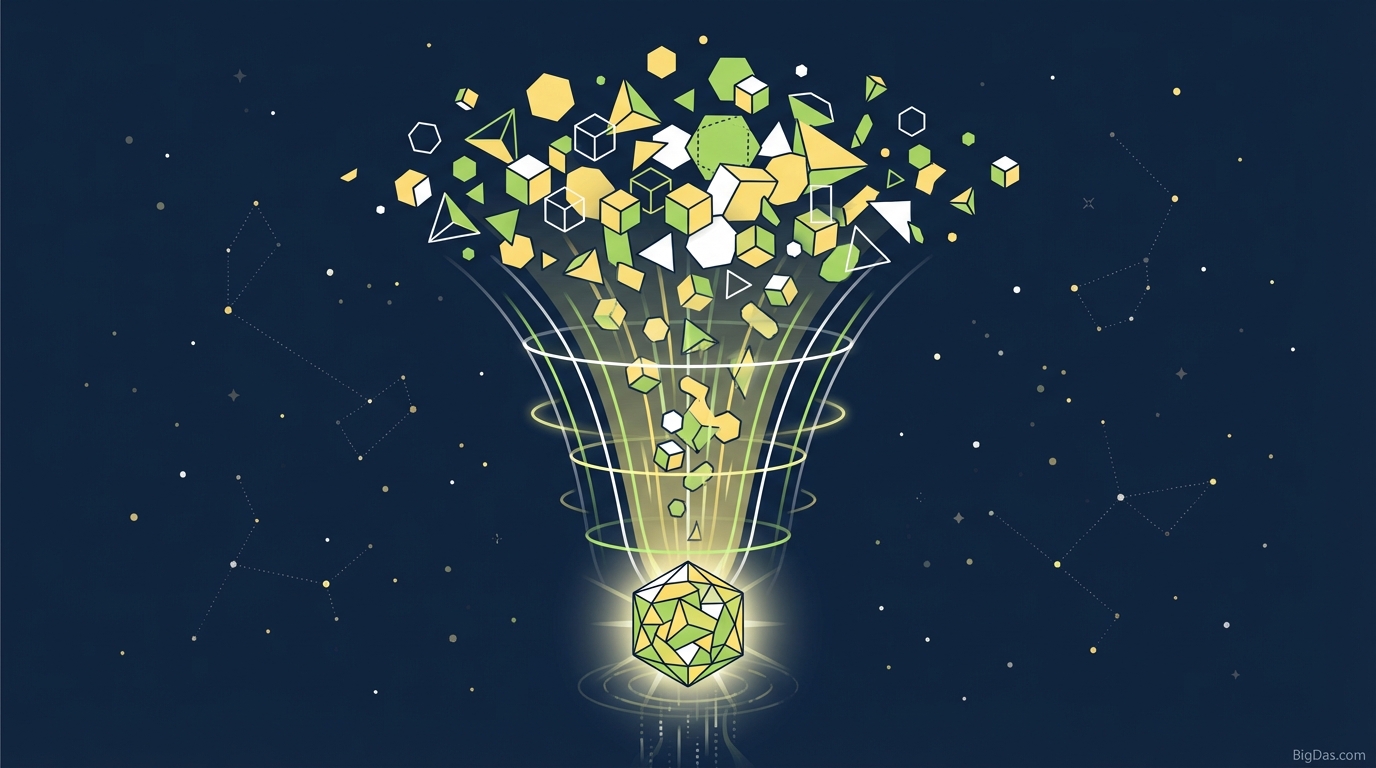
Image Compressor
Ultimate Image Compressor: Reduce JPG & PNG Size Without Quality Loss
In the digital ecosystem, speed is currency. Whether you are running an e-commerce giant, a personal portfolio, or a high-traffic blog, the size of your media assets dictates your user experience. High-resolution images are non-negotiable for visual appeal, but they come with a heavy price tag: slow load times, bloated storage, and plummeted SEO rankings.
Enter the Image Compressor.
This isn’t just another file shrinker; it is a best-in-class optimization engine designed to balance the delicate scale between visual fidelity and file weight. Below, we dive deep into the mechanics of image compression, why this tool is the industry standard, and how you can leverage it to supercharge your web performance.
The Heavy Cost of Unoptimized Images
Before understanding the solution, we must quantify the problem. According to Google’s Core Web Vitals, the Largest Contentful Paint (LCP)—a metric that measures how long it takes for the main content of a page to load—is a critical ranking factor. Large, uncompressed images are the primary culprit for poor LCP scores.
If your images are heavy:
- Bounce Rates Increase: 53% of mobile site visits are abandoned if pages take longer than 3 seconds to load.
- SEO Suffers: Google penalizes slow sites.
- Bandwidth Costs Spike: Hosting bills increase as you serve more data per visitor.
The Image Compressor solves this instantly by stripping away digital "dead weight" without degrading the image quality visible to the human eye.
What is the Image Compressor? (A Technical Deep Dive)
The Image Compressor is an advanced, browser-based utility engineered to reduce the file size of JPG (JPEG) and PNG images. But how does it achieve up to 80% size reduction without making your photos look grainy or pixelated?
It utilizes a combination of smart lossy compression techniques and metadata stripping.
1. Selective Quantization
The tool analyzes the image to identify clusters of pixels that are statistically similar in color. It then merges these subtle variations into a single color value. For example, a sky might contain 1,000 shades of blue. The human eye can only distinguish a fraction of them. This tool reduces those 1,000 shades to 100 dominant shades. The visual structure remains identical to the viewer, but the file data required to render the image drops drastically.
2. Stripping Metadata
Every photo taken with a digital camera or phone contains EXIF data (shutter speed, ISO, location, camera model, date). For web display, this data is useless bloat. The Image Compressor surgically removes this background code, shaving off kilobytes without touching a single pixel of the image itself.
3. Huffman Coding Optimization
For PNGs and JPGs, the tool optimizes the internal compression tables (Huffman tables) used to store the data, ensuring the file structure is as efficient as mathematically possible.
Key Features & Benefits
Why is this specific Image Compressor considered the best in class? It goes beyond simple resizing.
1. Intelligent Compression Algorithms
Unlike basic tools that apply a flat reduction percentage (often resulting in blurriness), this tool uses AI-driven analysis to determine the optimal compression level for each specific image. It knows how much it can compress a complex landscape versus a simple logo.
2. Dual Format Support (JPG & PNG)
- JPG Optimization: Perfect for photographs and images with continuous color transitions.
- PNG Optimization: Ideal for graphics, logos, and images requiring transparency. The tool maintains the alpha channel (transparency) even after heavy compression.
3. Bulk Processing Capability
Time is money. You don't need to upload images one by one. The tool supports batch processing, allowing you to drag and drop multiple files simultaneously, processing them in seconds.
4. Zero Quality Loss (Perceptual)
We distinguish between "mathematical" loss and "perceptual" loss. While the file data changes, the visual integrity is maintained. Your images will look crisp on Retina displays and 4K monitors, despite being a fraction of the original size.
5. Data Privacy and Security
In a corporate or agency environment, data security is paramount. This tool operates with a secure protocol where images are processed and automatically deleted from the server shortly after download. Your assets are never stored or sold.
Step-by-Step Guide: How to Use the Image Compressor
Optimizing your workflow is simple. Follow this guide to achieve the smallest file sizes with the highest quality.
Step 1: Prepare Your Files
Before uploading, ensure you are using the correct format. Use JPG for photographs and PNG for graphics with flat colors or transparency.
Step 2: Upload Your Images
Click the "Select Images" button or simply drag and drop your files into the designated upload area. You can upload multiple files at once.
Step 3: Automatic Processing
The tool immediately begins the quantization and optimization process. You will see a progress bar for each image.
- Note: The tool automatically calculates the aggressive yet safe compression ratio.
Step 4: Analyze the Savings
Once finished, the tool will display the "Original Size" vs. "Compressed Size" and the percentage saved (e.g., -72%).
Step 5: Download
You can download images individually or hit "Download All" to receive a ZIP file containing your optimized assets.
Expert Advice: Getting the Most Out of This Tool
To truly master web performance, simply compressing an image isn't enough. Here is professional advice on how to use this tool as part of a broader optimization strategy.
1. Resize Dimensions Before Compressing
This is the most common mistake. If your website blog container is 800px wide, do not upload a 4000px wide image.
- Workflow: Resize the image dimensions to the maximum display width required (e.g., 1200px) $\rightarrow$ Then run it through the Image Compressor.
2. Choose the Right Format
- Complex Photos: Always use JPG. A JPG compressed by this tool will be significantly smaller than a PNG of the same photo.
- Screenshots/Logos: Use PNG. JPG compression can introduce "artifacts" (noise) around sharp text edges.
3. The "Double-Dip" Strategy
If you have a massive raw file (e.g., 15MB), run it through the compressor once. Check the visual quality. If it still looks perfect but the file size is slightly high, you can run the compressed version through the tool a second time for incremental gains, though monitor quality closely on the second pass.
Why You Need This Tool (Use Cases)
For Web Developers & SEO Specialists
Google's "Page Experience" update makes speed a ranking factor. This tool is your shortcut to passing Core Web Vitals assessments. By reducing payload size, you improve First Contentful Paint (FCP) and reduce server load.
For E-Commerce Store Owners
High-quality product images sell goods, but slow product pages kill sales. Amazon calculated that a one-second page load slowdown could cost them $1.6 billion in sales each year. Use this tool to keep product images sharp but lightweight, ensuring instant loading on mobile networks.
For Photographers & Designers
You want to showcase your portfolio without theft. Lowering the file size (while keeping display quality high) makes it harder for bad actors to print your work without permission, while ensuring your portfolio site feels snappy and professional.
For Email Marketers
Email providers (Gmail, Outlook) have strict size limits. Heavy images often trigger spam filters or clip the email message. Compressing images ensures your newsletters render correctly and land in the Primary inbox.
Frequently Asked Questions (FAQ)
1. Will compressing my image reduce its physical dimensions?
No. Compression changes the file size (measured in KB or MB), not the image dimensions (measured in pixels). A 1920x1080 image will remain 1920x1080; it will just take up less storage space.
2. Is there a visible difference between the original and the compressed image?
In 99% of cases, no. This tool uses "perceptual" compression algorithms. It modifies data that the human eye cannot perceive. Unless you are printing the image on a billboard, the difference is indistinguishable.
3. Which is better for the web: JPG or PNG?
It depends on the content. Use JPG for photographs, people, and landscapes. Use PNG for logos, icons, screenshots with text, and images requiring a transparent background.
4. Is it safe to upload private photos?
Yes. The Image Compressor uses secure encryption for uploads, and files are automatically purged from the servers after a short duration. No human ever sees your images.
5. Why is my PNG file still large after compression?
PNG is a lossless format designed to retain high detail. If you have a complex photo saved as a PNG, it will be large even after compression. Convert the photo to JPG first, then compress it for the best results.
Conclusion
In a world where attention spans are measured in milliseconds, you cannot afford to serve bloated media. The Image Compressor is more than a utility; it is a fundamental component of a healthy, high-ranking, and user-friendly website.
By stripping away metadata and optimizing pixel data, you save bandwidth, boost your SEO rankings, and provide a seamless experience for your visitors.
Don't let heavy images weigh down your success.