Arduino Code Generator
 Modern scientific illustration of Arduino Code Generator
Master Multitasking: The Ultimate Arduino Code Generator for Non-Blocking Projects
If you have ever spent hours debugging a syntax error because of a missing semicolon, or watched in frustration as your Arduino project froze because of a delay() function, you are not alone.
For makers, engineers, and students alike, the logic of a project is often clear, but the implementation—the actual C++ coding—can become a bottleneck. This is especially true when you try to make your Arduino do two things at once, like blinking an LED while reading a temperature sensor.
Enter the Arduino Code Generator. This isn't just another snippet repository; it is the best-in-class, visual solution designed to build robust, non-blocking Arduino code instantly.
In this guide, we will explore how this tool revolutionizes the prototyping process, why non-blocking code is essential for modern electronics, and how you can generate production-ready sketches without writing a single line of code yourself.
What is the Arduino Code Generator?
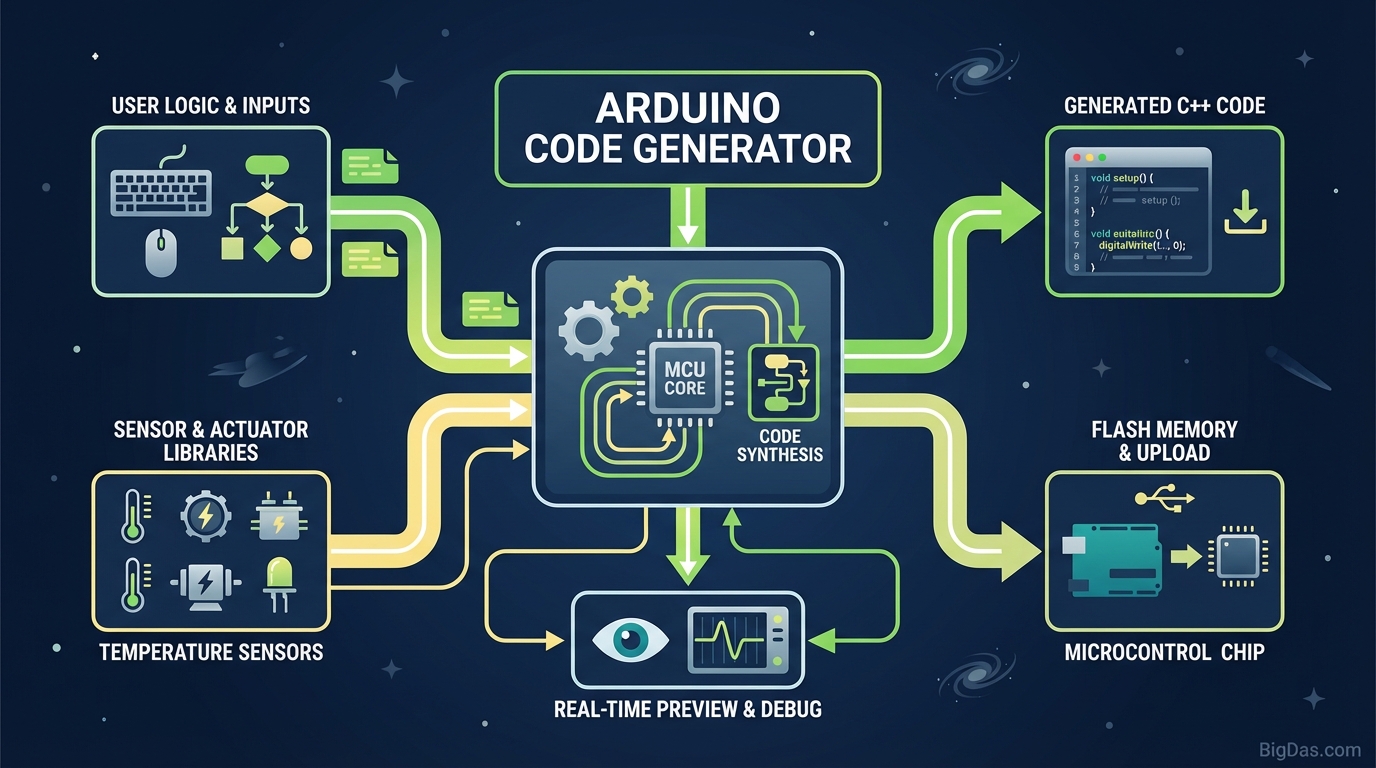
The Arduino Code Generator is a sophisticated, browser-based tool that allows users to visually construct Arduino sketches. Instead of manually typing out setup() and loop() functions, you select components, define behaviors, and let the engine generate optimized, error-free C++ code.
However, what sets this specific tool apart from generic "block coding" apps is its output quality. Most visual tools generate basic, linear code that halts the processor using the delay() command.
Our Arduino Code Generator is different. It generates non-blocking code based on the millis() timer function.
The "Blocking" Problem vs. The "Non-Blocking" Solution
To understand the true value of this tool, you must understand the biggest pitfall in Arduino programming:
- Blocking Code (
delay()): When you writedelay(1000), the Arduino pauses completely for one second. It cannot read buttons, update displays, or move motors. It is "blocked." - Non-Blocking Code (
millis()): This approach checks the internal clock to see if it is time to perform an action. The processor never stops running, allowing it to handle multiple tasks seemingly simultaneously.
Writing non-blocking code manually requires complex state machines and timer logic. The Arduino Code Generator automates this entirely, giving you professional-grade multitasking capabilities instantly.
Key Features & Benefits
Why is this considered the industry-standard tool for visual Arduino coding? Here are the features that drive its popularity among hobbyists and professionals.
1. True Multitasking Capabilities
As mentioned, the core engine produces code that allows multiple components to operate independently. You can have a servo sweeping, an LED breathing, and a sensor reading data all at the same exact time without lag.
2. Extensive Component Library
The tool comes pre-loaded with the logic for the most popular components, including:
- Outputs: LEDs, Relays, Buzzers, LCDs (I2C), Servos, Stepper Motors.
- Inputs: Pushbuttons (with debouncing included), Potentiometers, Ultrasonic Sensors, DHT Temperature sensors.
- Communication: Serial Monitor debugging and logging logic.
3. Visual Configuration, Clean Syntax
You don’t just get a messy dump of code. The output is formatted, commented, and organized. It looks as if a senior embedded engineer wrote it. Variables are named logically based on the labels you assign visually.
4. Zero Syntax Errors
The compiler is your friend, but it can be strict. By generating the code programmatically, you eliminate:
- Missing semicolons
; - Unmatched curly braces
{ } - Incorrect function calls
- Typos in variable names
5. Universal Hardware Compatibility
While optimized for the Arduino Uno/Nano architecture, the generated C++ code is standard. This means it is highly compatible with other boards like the Arduino Mega, ESP32, and ESP8266, often requiring only minor pin number adjustments.
Step-by-Step Guide: How to Use the Arduino Code Generator
Ready to build your first complex project in minutes? Follow this workflow to get the most out of the tool.
Step 1: Define Your Global Settings
Upon launching the tool, start by setting up the basics. Name your project (which becomes the file name) and define any global variables or libraries you know you might need. Note: The tool automatically includes necessary libraries like Servo.h or LiquidCrystal.h based on your component selection.
Step 2: Add Your Components
Locate the "Add Component" menu. Here, you will select the hardware you are connecting to your Arduino.
- Example: Click "LED," name it
StatusLight, and assign it to Pin 13. - Example: Click "Button," name it
StartBtn, and assign it to Pin 2.
Step 3: Configure Component Behavior
This is where the magic happens. You aren't just adding hardware; you are adding behavior.
- For the LED, select "Blink" mode. Set the interval to
500ms. The tool automatically writes the non-blocking timer logic for this. - For the Button, select "Toggle" or "Momentary" logic. The tool automatically handles the software debouncing.
Step 4: Define Interactions (Optional)
Advanced users can link components. You can set conditions such as: “If StartBtn is HIGH, enable StatusLight.”
Step 5: Generate and Copy
Click the "Generate Code" button. The right-hand panel will instantly populate with the full C++ sketch.
- Review the code visually.
- Click "Copy to Clipboard."
- Open your Arduino IDE.
- Paste, Compile, and Upload.
Why You Need This Tool (Use Cases)
Whether you are a novice or a pro, the Arduino Code Generator fits into various stages of development.
For Beginners and Students
Learning C++ logic and syntax simultaneously is overwhelming. This tool acts as a bridge. You can build the project visually, then read the generated code to understand how the syntax implements your logic. It is the ultimate learning accelerator.
For Rapid Prototyping
You have an idea for a product, and you need to prove it works today. writing the boilerplate code for pins, variables, and timers is tedious time-wasting. This tool automates the boring setup, letting you focus on the hardware integration.
For Robotics and Automation
Robots need to sense and act simultaneously. An obstacle-avoiding robot cannot stop looking for walls just because it is moving its wheels. Because this tool generates non-blocking code, it is the secret weapon for robotics enthusiasts who need fluid motion and responsive sensors.
For "Spaghetti Code" Prevention
As projects grow, code gets messy. By using this generator, you ensure that your project starts with a structured, modular foundation. It keeps your void loop() clean and easy to read.
Expert Advice: Getting the Most Out of the Tool
To ensure you are utilizing the Arduino Code Generator to its full potential, keep these technical tips in mind:
- Pin Management: The tool will suggest pins, but always cross-reference with your physical board. Avoid using Pins 0 and 1 if you plan on using Serial communication, as these are reserved for RX/TX.
- Power Budgeting: The code generator handles logic, not physics. Ensure your Arduino can supply enough current for the components you select (especially motors and servos).
- Read the Comments: The generated code includes helpful comments explaining why a line exists. Read them! They often explain how the
millis()subtraction logic works, which is valuable knowledge for your future career. - Iterate: Don't try to build a massive system in one go. Generate code for just the LEDs first. Test it. Then add the buttons. Then the sensors. The tool allows you to add/remove components easily, so iterate your way to perfection.
Frequently Asked Questions (FAQ)
1. Is the generated code compatible with the ESP32?
Yes, generally. Since the tool generates standard C++ using Arduino frameworks, the logic holds up. However, you will need to change the Pin numbers in the definition section to match the GPIO mapping of the ESP32 or ESP8266.
2. What exactly is "Non-Blocking" code?
Non-blocking code allows the Arduino to do multiple things at once. Instead of pausing the processor (blocking it) to wait for a second to pass, non-blocking code checks the clock thousands of times a second to see if it is time to do the task, leaving the processor free to do other work in the meantime.
3. Can I edit the code after generating it?
Absolutely. The output is standard text. Once you paste it into your Arduino IDE, you can modify, expand, or customize it as much as you like. The generator simply gives you a perfect, bug-free foundation.
4. Does this tool handle switch debouncing?
Yes. One of the most annoying parts of coding buttons is "bouncing" (where one press registers as multiple clicks). Our generator automatically includes software debouncing logic for all digital inputs.
Conclusion
The era of struggling with delay() functions and hunting for missing semicolons is over. The Arduino Code Generator empowers you to focus on the creativity and logic of your project, rather than the syntax.
By providing robust, non-blocking code structure out of the box, it allows beginners to build pro-level projects and professionals to prototype at lightning speeds.
Ready to bring your electronics project to life?
Click Here to Start Generating Your Arduino Code Now
Stop coding from scratch. Start building with intelligence.