Domino Simulation
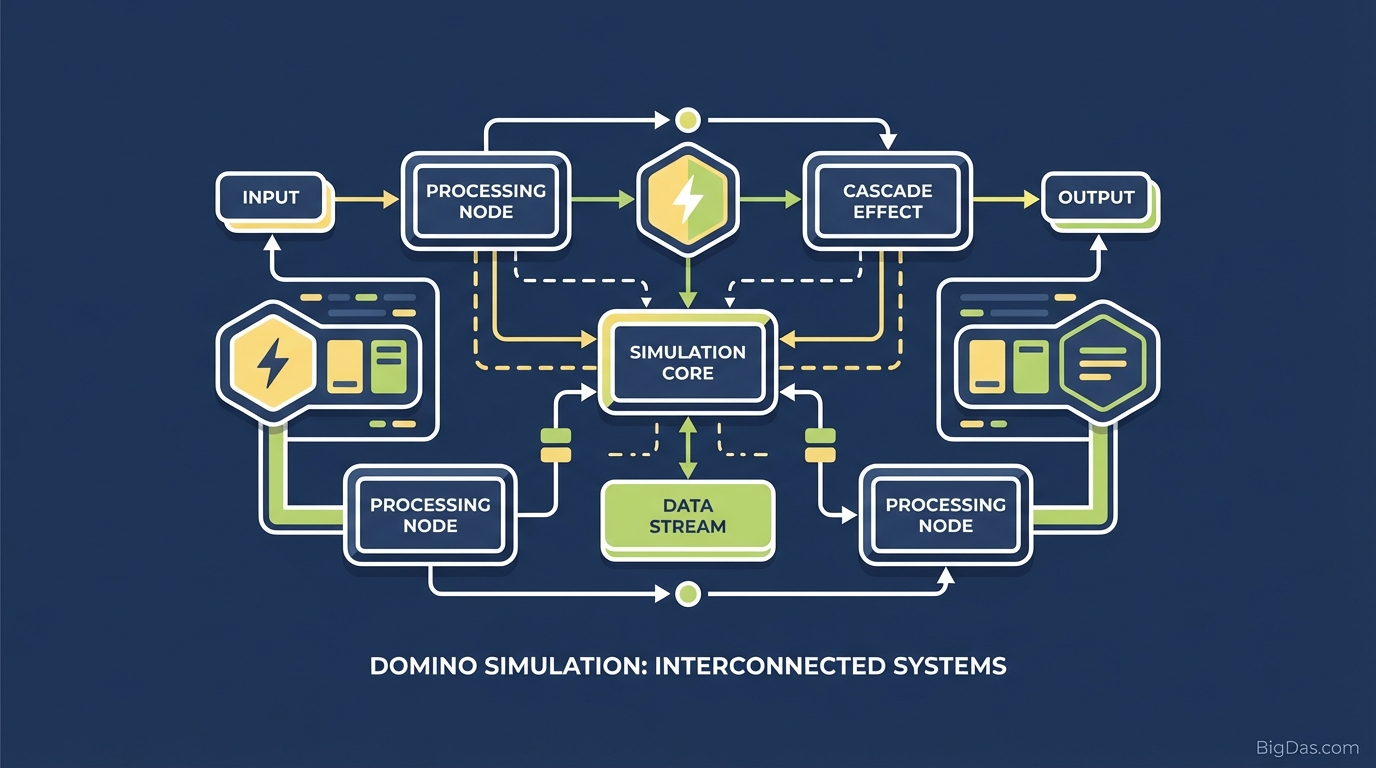 Modern scientific illustration of Domino Simulation
Master the Art of Chain Reactions: The Ultimate Guide to Our Advanced Domino Simulation
There is something universally satisfying about the rhythmic click-clack of toppling dominoes. It appeals to our innate love for order, cause and effect, and visual harmony. However, in the physical world, the art of domino toppling comes with significant barriers: limited floor space, the cost of purchasing thousands of tiles, and the heartbreaking frustration of an accidental nudge destroying hours of work before you are ready.
Enter the Domino Simulation—the digital evolution of a classic pastime.
Whether you are a physics enthusiast, a content creator looking for the next viral ASMR clip, or a professional seeking a moment of creative Zen, this tool is the gold standard in browser-based physics sandboxes. By removing the limitations of gravity and physical inventory, we allow you to build the impossible.
In this deep dive, we will explore the mechanics behind our best-in-class Domino Simulation, how to master its features, and why it has become an essential tool for educators and creatives alike.
What is the Domino Simulation?
At its core, the Domino Simulation is a high-fidelity, browser-based sandbox environment that replicates real-world physics to simulate the placement and toppling of dominoes. Unlike basic flash games of the past, this tool utilizes a sophisticated rigid body physics engine. This means every tile interacts with its environment and neighboring tiles based on calculated mass, friction, velocity, and momentum.
The Technology Behind the Topple
While it looks like a game, the backend is a marvel of technical engineering. The simulation renders thousands of individual objects in real-time. When you trigger the first domino, the system isn't playing a pre-recorded animation; it is calculating the transfer of kinetic energy from Object A to Object B in real-time.
This ensures that no two simulations are exactly alike. If you place a domino slightly off-center, it will fall off-center, potentially creating a chaotic branch in your chain reaction. This unpredictability mimics the thrill of real-life domino building but adds the safety net of digital "Undos" and "Saves."
Virtual vs. Physical
Why choose a simulation over the real thing?
- Infinite Inventory: You never run out of tiles. Whether you want a chain of 10 or 10,000, the supply is limitless.
- Zero Cleanup: There is no mess to clean up after the topple. A single button press resets the board.
- Impossible Geometry: You can build floating platforms, defy standard gravity, and create structures that would collapse under their own weight in the real world.
Key Features & Benefits
Our Domino Simulation is designed to be the most robust tool on the market. Here is why it stands head and shoulders above other physics toys.
1. Precision Placement Tools
Dragging and dropping one tile at a time is tedious. Our tool features Line Draw and Curve Generators. You can paint a perfect spiral or a straight line of 500 dominoes in a single second. This allows for rapid prototyping of complex designs.
2. Customizable Physics Properties
This is where the "Technical" aspect shines. You aren't stuck with standard plastic tiles. You can adjust:
- Mass: Make dominoes heavier to knock over larger obstacles.
- Bounciness: Create high-energy reactions where tiles rebound off walls.
- Scale: Mix giant monoliths with micro-dominoes for varied visual effects.
3. Advanced Object Library
It’s not just about the rectangular tiles. The simulation includes a library of Rube Goldberg components:
- Ramps and Bridges: For verticality.
- Splitters: To turn one path into two or three.
- Balls and Pendulums: To add dynamic triggers to your setup.
4. High-Performance Rendering
We have optimized the rendering pipeline to handle high-density object counts without crashing your browser. While other tools lag after 500 objects, our engine remains buttery smooth well into the thousands, ensuring your chain reaction is viewed in high definition.
Step-by-Step Guide: How to Use the Domino Simulation
Ready to build your masterpiece? Follow this guide to go from a blank canvas to a spectacular chain reaction.
Step 1: Interface Overview
Upon loading the tool, you will see the Infinite Grid.
- Left Panel: Your toolbox (Dominoes, Shapes, Balls).
- Top Bar: Playback controls (Play, Reset, Speed Control).
- Right Panel: Properties inspector (Color, Mass, Physics settings).
Step 2: Placing Your First Chain
Select the "Line Tool" from the Left Panel. Click on the grid to start the line, drag your mouse to the desired length, and release. You just placed 50 perfectly spaced dominoes.
- Pro Tip: Use the "Snap to Grid" toggle to ensure your lines are perfectly straight and perpendicular.
Step 3: Adding Complexity (Turns and Curves)
A straight line is boring. Select the "Bezier Curve Tool." Click three points on the map to create a smooth, arcing curve. The simulation automatically calculates the optimal spacing between dominoes on the curve to ensure they fall without gapping.
Step 4: Verticality and Obstacles
Select the "Ramp" object. Place it at the end of your curve. Now, switch back to the "Single Domino" tool (or "Brush Mode") to carefully place tiles ascending the ramp.
- Expert Advice: When building upwards, increase the friction setting in the Right Panel to prevent tiles from sliding down before the simulation starts.
Step 5: The Topple
Once your design is complete, press the "Simulation Ready" button (often an Eye icon). This locks the objects. Click the very first domino with your mouse to apply force.
- Watch: Sit back and enjoy.
- Control: You can use the Speed Slider to slow down time (Slow-Mo) to analyze exactly how the physics are interacting at crucial junctions.
Step 6: Save and Share
Did you create something amazing? Click "Save Layout." You can generate a unique URL to share your setup with friends or colleagues, allowing them to topple your creation on their own devices.
Why You Need This Tool: Use Cases
While it is undeniably fun, the Domino Simulation is more than a toy. It serves distinct practical purposes for various user groups.
For STEM Educators and Students
Physics teachers struggle to visualize concepts like kinetic energy transfer, momentum, and friction in a classroom setting without messy experiments. This tool allows students to tweak variables (like mass) and instantly see the result. It transforms abstract physics equations into visual, interactive learning.
For Content Creators (ASMR & Visual Art)
"Oddly Satisfying" videos are a massive niche on YouTube and TikTok. The visual fidelity of our simulation, combined with the ability to create intricate, colorful patterns (pixel art made of dominoes), makes it a powerful engine for content creation. You can record your screen and produce high-quality viral content without buying a single plastic tile.
For Cognitive Relaxation and Focus
The "Tetris Effect" is real. Engaging in spatial organization and watching orderly patterns unfold lowers cortisol levels. Corporate professionals use our tool as a quick 5-minute "brain break" to reset their focus between high-stress meetings.
Expert Advice: Getting the Most Out of the Tool
To truly master the Domino Simulation, you need to think like an engineer. Here are three tips for advanced users:
1. Master the "Gap" The distance between dominoes is the most critical variable.
- Too close: The reaction happens too fast and looks "mushy."
- Too far: The chain breaks.
- The Sweet Spot: Our tool defaults to optimal spacing, but for "slow-mo" dramatic effects, try slightly widening the gap to highlight the fall of each individual tile.
2. Color Coding for Visual Impact Don't stick to black and white. Use the Gradient Tool. Select your line of dominoes and apply a "Rainbow Gradient." When the dominoes fall, the shifting colors create a mesmerizing wave effect that looks incredible in video recordings.
3. Performance Management If you are building a "Mega-Structure" (10,000+ items), use the "Freeze" feature on static objects (like walls or ramps). This tells the physics engine not to calculate movement for those items until they are hit, saving processing power and keeping your frame rate high.
Frequently Asked Questions (FAQ)
Q: Is the simulation mobile-friendly? A: Yes! The tool is optimized for touch interfaces. You can drag and drop tiles with your finger on tablets and smartphones, though a mouse is recommended for high-precision edits.
Q: Is there a limit to how many dominoes I can place? A: Theoretically, no. However, browser performance usually creates a soft limit depending on your computer's RAM. Most modern laptops can handle 5,000 to 10,000 objects smoothly.
Q: Can I import images to create domino pixel art? A: Yes. Use the "Image Import" feature. Upload a low-res image, and the tool will automatically generate a grid of colored dominoes to match the pixels of your picture.
Q: Does it simulate wind or air resistance? A: By default, air resistance is negligible to ensure satisfying falls. However, you can enable "Atmospheric Forces" in the advanced settings if you want to simulate a windy environment.
Conclusion
The Domino Simulation is the intersection of creativity, physics, and digital convenience. It takes a timeless hobby and supercharges it with the power of modern rendering technology. Whether you are teaching a class on momentum, trying to create the next viral video masterpiece, or simply looking to knock things over after a long day at work, this tool provides the ultimate sandbox.
The laws of physics are yours to bend. The only limit is your imagination.
Ready to start the chain reaction? [Launch the Domino Simulator Now] and build your first masterpiece today. No cleanup required.