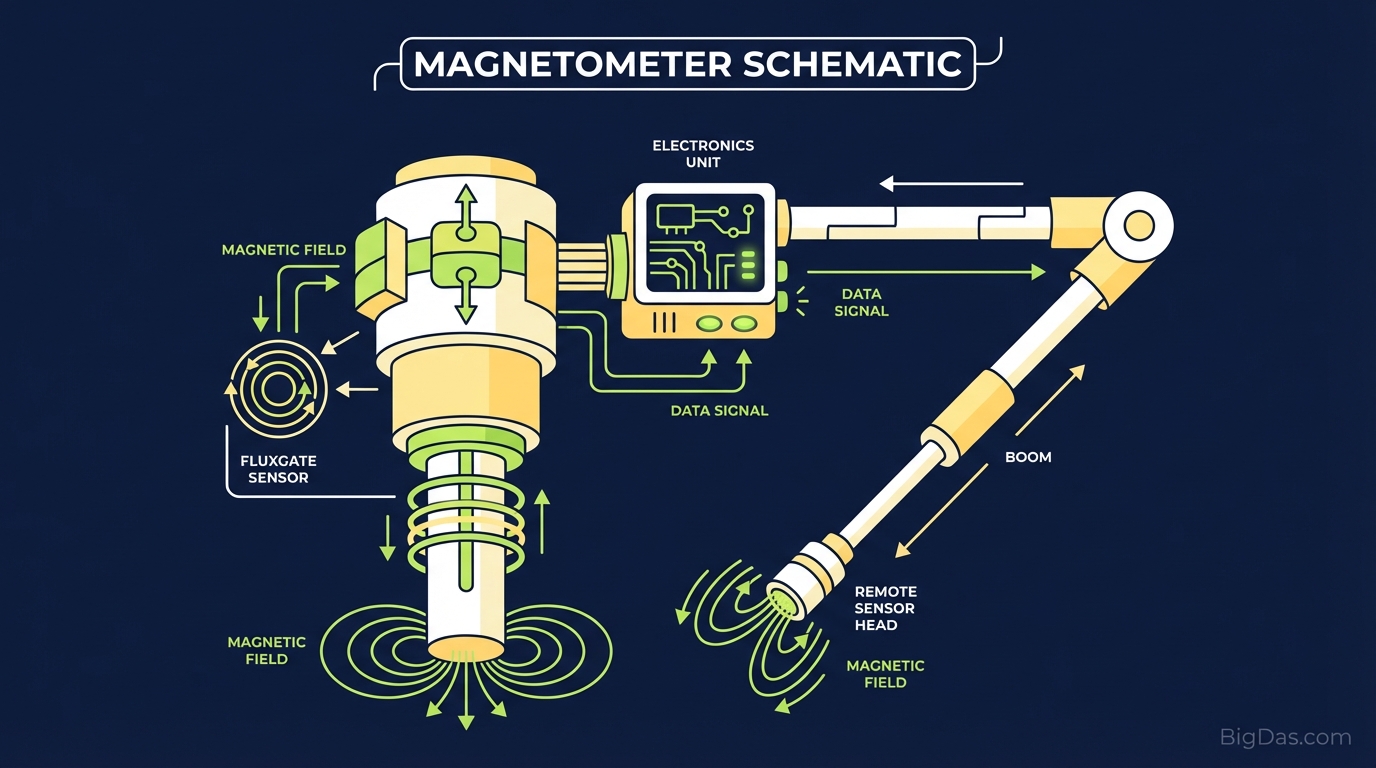
Magnetometer
 Modern scientific illustration of Magnetometer
A Practical Guide to Measuring Magnetic Fields
The Earth produces a magnetic field. So do the electronics around you, the steel framing in your walls, and the speaker magnets in your phone. None of these fields are visible, which makes them hard to measure without dedicated equipment.
This guide covers a browser-based Magnetometer tool that reads the raw magnetometer data from your device's built-in sensors and displays it as live numbers and graphs. The tool works on phones and tablets that expose magnetometer data to the web.
What the Tool Does
A magnetometer measures the strength and direction of a magnetic field, reported in microtesla ($\mu T$). Modern smartphones contain a small magnetometer chip, typically a Hall effect sensor, that is accurate enough for compass work and basic field measurement.
Most operating systems filter and smooth this data before the user sees it. This tool skips those filters and shows the raw values directly. It also plots the X, Y, and Z components of the field over time and computes the total field magnitude.
The Hall Effect
The sensor works because of the Hall effect. When current flows through a thin conductor in the presence of a magnetic field perpendicular to that current, the charge carriers are pushed to one side of the conductor by the Lorentz force. This produces a small voltage across the conductor that is proportional to the magnetic field strength. The phone's hardware measures this voltage and converts it to a field reading.
Microtesla ($\mu T$)
One tesla is a large unit. The Earth's magnetic field measures roughly 25 to 65 $\mu T$ at the surface, depending on latitude. A refrigerator magnet held a few centimeters away might push 500 $\mu T$ or more. Anything that spikes the field significantly above the local baseline is likely a nearby ferromagnetic object or an active electromagnetic source.
Features
Live Graph
A scrolling time-series plot shows the total field magnitude, along with the X, Y, and Z components. Spikes and dips are easier to see in a graph than in a changing number, which is useful when scanning an area.
Three-Axis Breakdown
The field is split into three orthogonal components:
- X: left/right relative to the device screen
- Y: top/bottom relative to the device screen
- Z: front/back (perpendicular to the screen)
Individual axes can spike while the total stays steady, which gives information about the direction of the source.
Total Magnitude
The tool calculates the total field magnitude as $\sqrt{X^2 + Y^2 + Z^2}$. This is independent of device orientation, so rotating the phone does not change the number.
Calibration
The tool runs a calibration routine to subtract the device's internal magnetic noise from the readings. This requires waving the phone in a figure-8 pattern for a few seconds.
How to Use the Tool
1. Prepare the Device
Remove magnetic cases, magnetic car-mount plates, and any metal objects clipped to the phone. Move away from laptops, speakers, and other sources of strong fields so you can get a clean baseline.
2. Calibrate
Hold the phone in front of you and move it in a figure-8 motion for 3 to 5 seconds. This exposes the sensor to the Earth's field from many angles and lets the software correct for hard-iron offsets.
3. Establish a Baseline
With the phone on a non-metal surface or held steady in mid-air, watch the total $\mu T$ value.
- A reading of roughly 30 to 60 $\mu T$ indicates a normal Earth-field baseline.
- A reading near 0 or above 1000 $\mu T$ means you should recalibrate or move away from a magnetic source.
4. Scan
Move the phone slowly over the area of interest. Watch the graph for sharp peaks or dips. A jump from 45 $\mu T$ to 120 $\mu T$ as you sweep past a spot usually means there is a ferromagnetic object there.
Use Cases
Stud Finding and Lost Metal
Drywall screws are steel. Sliding the phone along a wall will show periodic spikes where the screws are, typically every 16 or 24 inches. The same trick works for finding dropped screws in carpet or grass.
Detecting Electromagnetic Interference
Drone compasses, Bluetooth audio, and sensitive analog equipment can be disrupted by stray magnetic fields. The tool can locate the source: a power transformer, a monitor, or a cable carrying heavy current.
Physics Demonstrations
Place a bar magnet on a table and sweep the phone around it. The graph will show how field strength falls off with distance, which is a quick way to visualize the inverse-square relationship for dipoles.
Wiring Detection
A current-carrying wire produces a magnetic field proportional to the current. Live AC wiring in a wall often produces a detectable 50 Hz or 60 Hz hum. The tool can sometimes pick this up, though results depend on the current load and how close the wiring is to the surface.
EMF Surveys
The tool is sometimes used to scan sleeping areas or workspaces for high-EMF zones. Note that the tool measures magnetic fields, not electric fields, and that the health effects of chronic low-level EMF exposure remain an open question in the scientific literature.
Practical Notes
Sensor location. The magnetometer is usually near the top of the phone, close to the camera module. Rotate the phone to find the orientation that gives the strongest response to a known magnet, that is the axis the sensor is most sensitive on.
Ferrous vs. non-ferrous. The tool responds to ferromagnetic materials (iron, steel, nickel, cobalt) and to active electromagnetic fields. It will not detect copper, aluminum, gold, or silver because those metals are not magnetic. A live copper wire carrying current will still produce a reading because of the current, not the metal itself.
Avoiding saturation. Very strong fields (a speaker magnet placed directly against the phone, for example) can push the sensor into saturation. The reading will then lock at the maximum or behave erratically until the field is removed and the sensor recalibrates.
Frequently Asked Questions
1. How accurate is the reading?
The accuracy is limited by the hardware in the device. Consumer-grade magnetometers are typically precise to within 1 to 2 $\mu T$ after calibration, which is enough for most practical uses. They are not a replacement for a calibrated industrial gaussmeter.
2. Can it detect gold or silver?
No. Gold, silver, copper, and aluminum are not ferromagnetic. The tool will not respond to them unless they are carrying a strong electrical current.
3. What counts as a high field?
The Earth's field is roughly 45 $\mu T$. A refrigerator magnet close to the phone can produce 500 $\mu T$ or more. Brief exposure to fields in the hundreds or low thousands of $\mu T$ is harmless to people, but sustained exposure to fields above about 1000 $\mu T$ can damage magnetic media and may interfere with the phone's compass.
4. Why does the graph jump when the phone is still?
Nearby fluctuating sources (a microwave, a Wi-Fi router, a radio tower) and sensor noise both show up in raw data. The tool does not smooth the signal, so these variations are visible.
5. Can the tool damage credit cards?
No. The tool only reads the sensor; it does not emit a magnetic field. However, placing any phone directly on a magnetic stripe is not recommended, since the phone contains its own magnets.
Summary
The Magnetometer tool reads the raw magnetometer data from your device, plots it in real time, and lets you see the X, Y, Z, and total components of the local magnetic field. It is useful for finding hidden metal, locating sources of interference, and demonstrating basic magnetic field behavior.